Technological Laboratory

Our Technological Laboratory perform accredited mechanical tests according to UNI EN ISO/IEC 17025 and the list of the accredited
tests is in the“Accreditation Certificate and accredited tests list”
Since 2015 we are “ “DNV GL Examination Centre” for welding inspections, mechanical and metallographic tests and NDTs and we also are
“Bureau Veritas Italia Provider” for Analysis, Examinations and Testing Services according to EN, ASME and ASTM standards.

MECHANICAL TESTS

 
prova_trazione

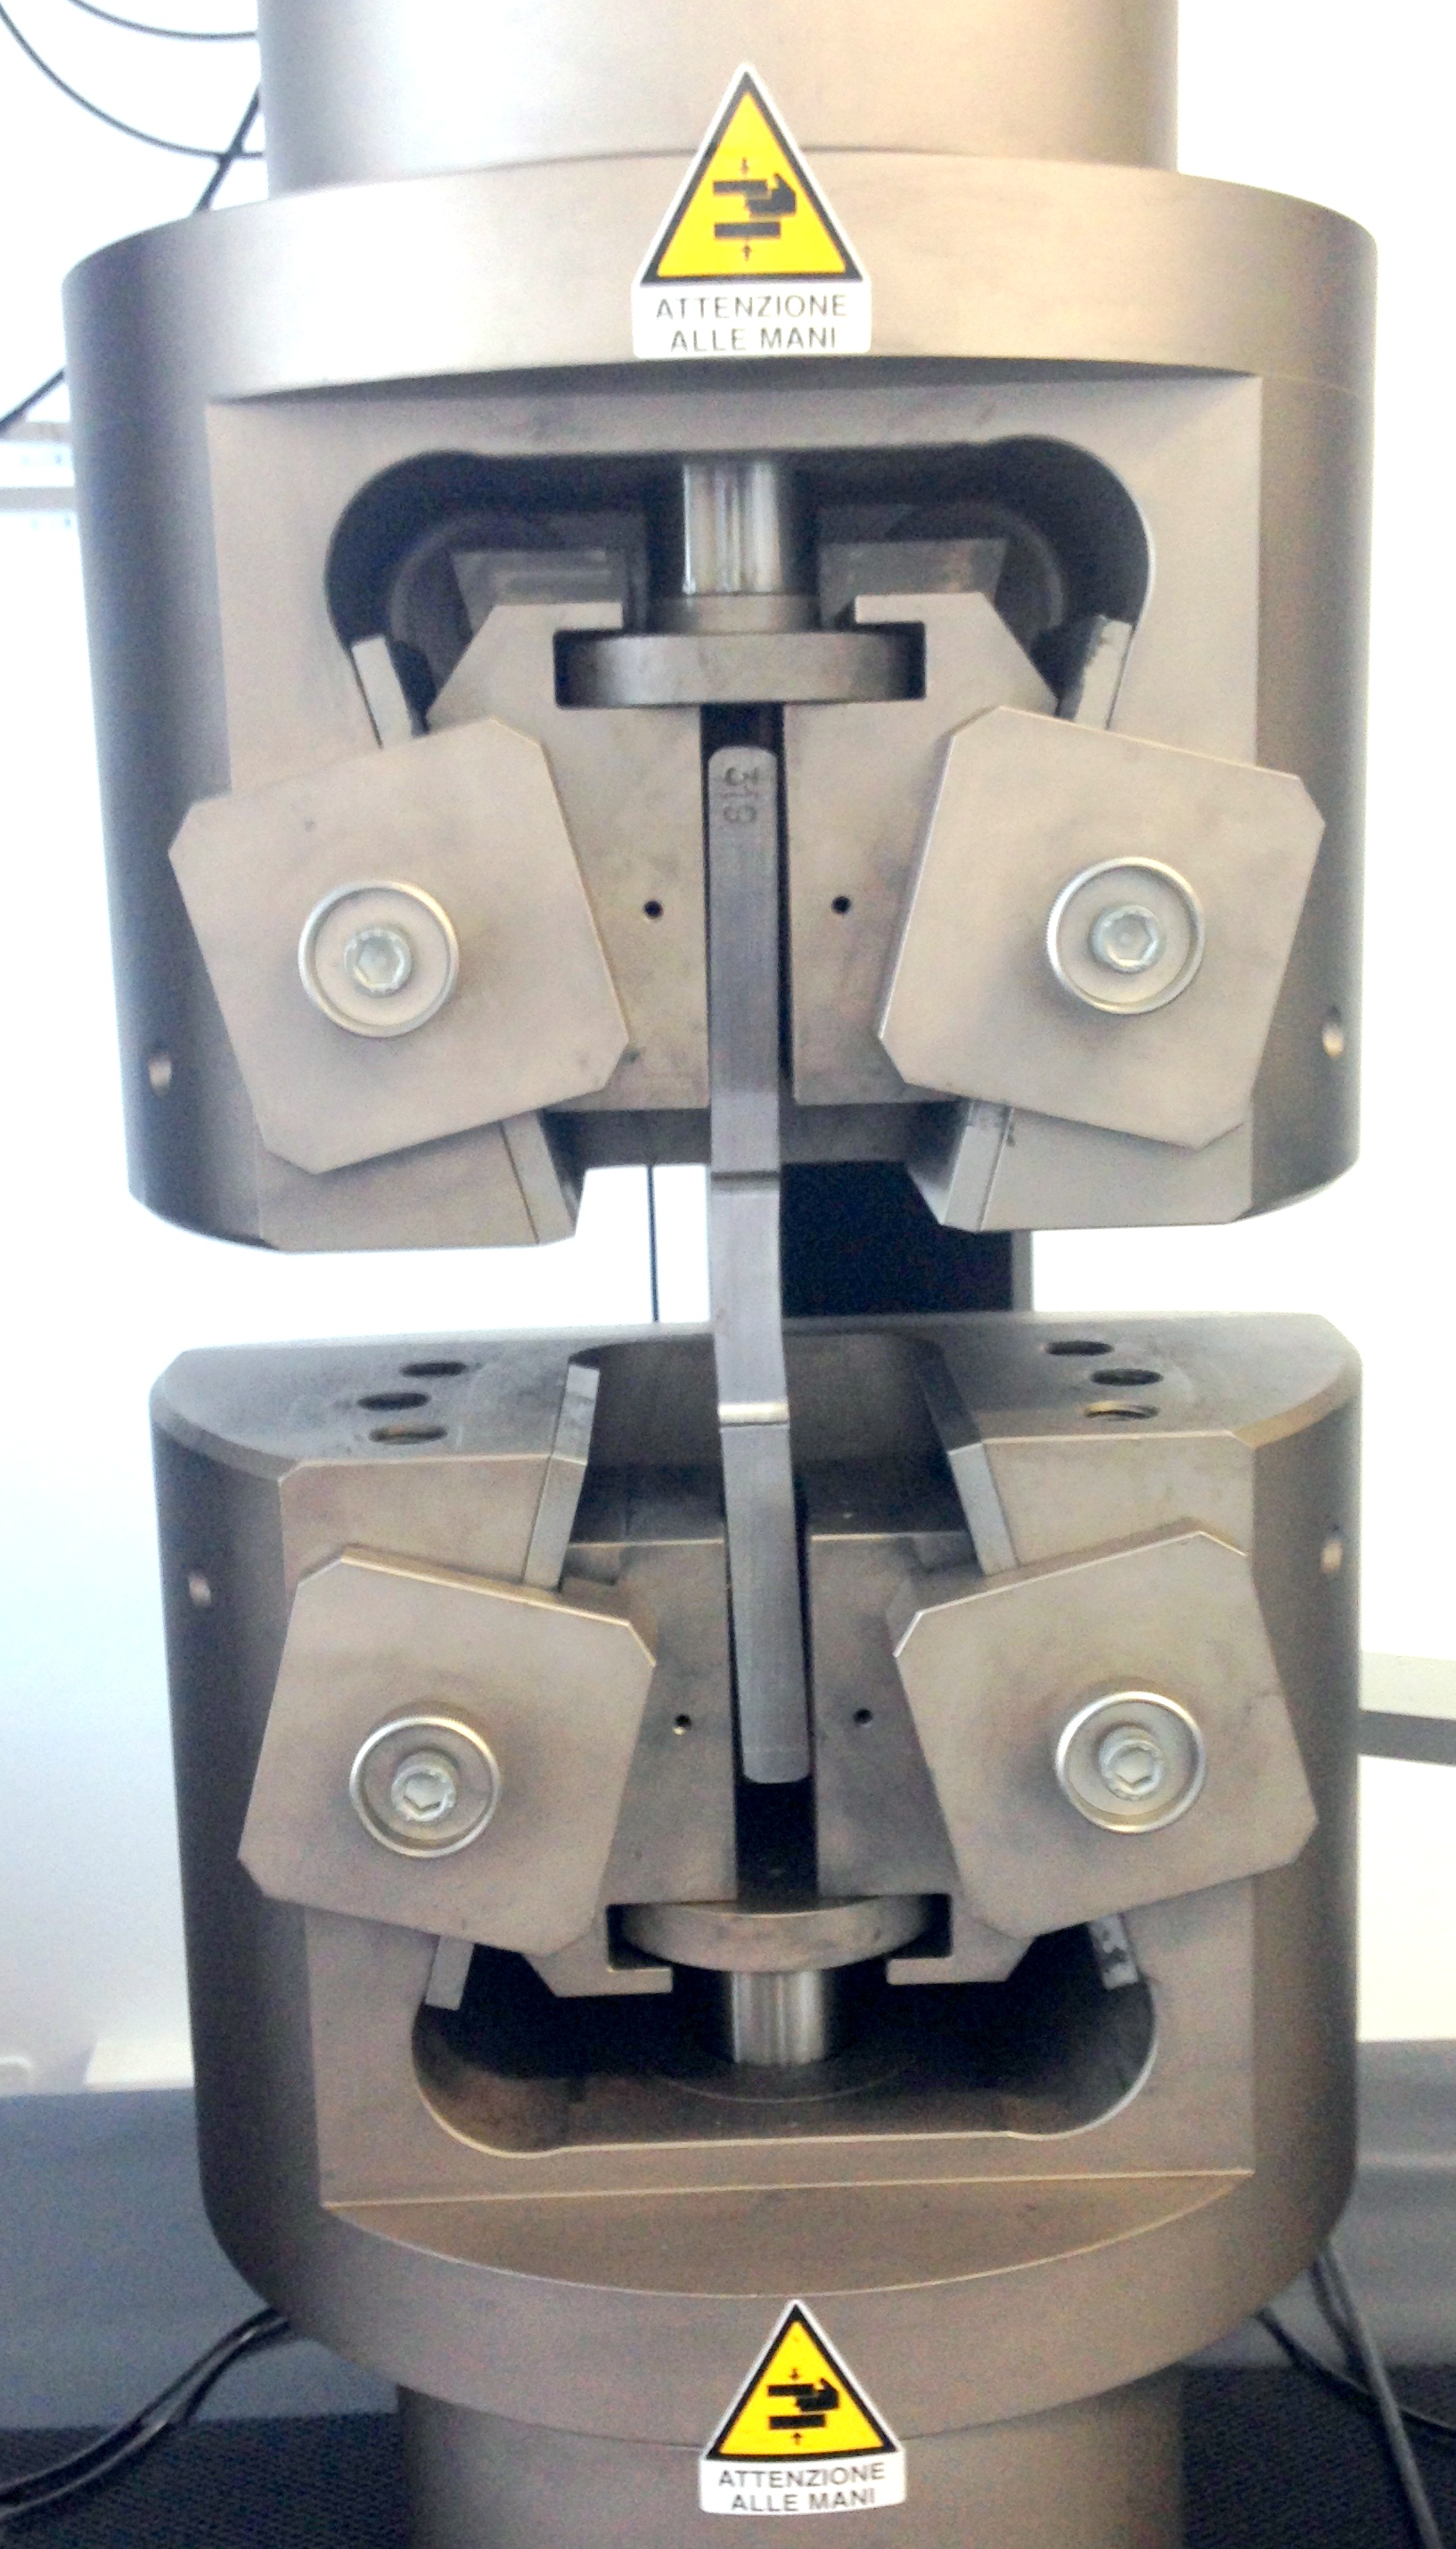
Tensile tests are performed at room temperature on prismatic and cylindrical samples, including those with threaded heads.
This technological trial is carried out to determine the tensile strength, yield strength, elongation and necking properties of various materials, according to European and international standards.
Our machine is also equipped with an electronic extensometer, which is able to electronically determine the elongation value reached during the tensile test for cylindrical samples.
All testing operations are completely managed by a specific software that, according to the set standard test, ensures the correct execution of all tests. Besides, since our testing programmes are connected to the computer system, our software is able to provide, on demand, the stress diagram and the recorded test values.
Our universal machine features a maximum traction of 60 tons and is accompanied by a calibration certificate issued by a calibration centre validated by ACCREDIA, the Italian National Accreditation Body, and available for consultation in our “Download” area.

>
prova_trazione

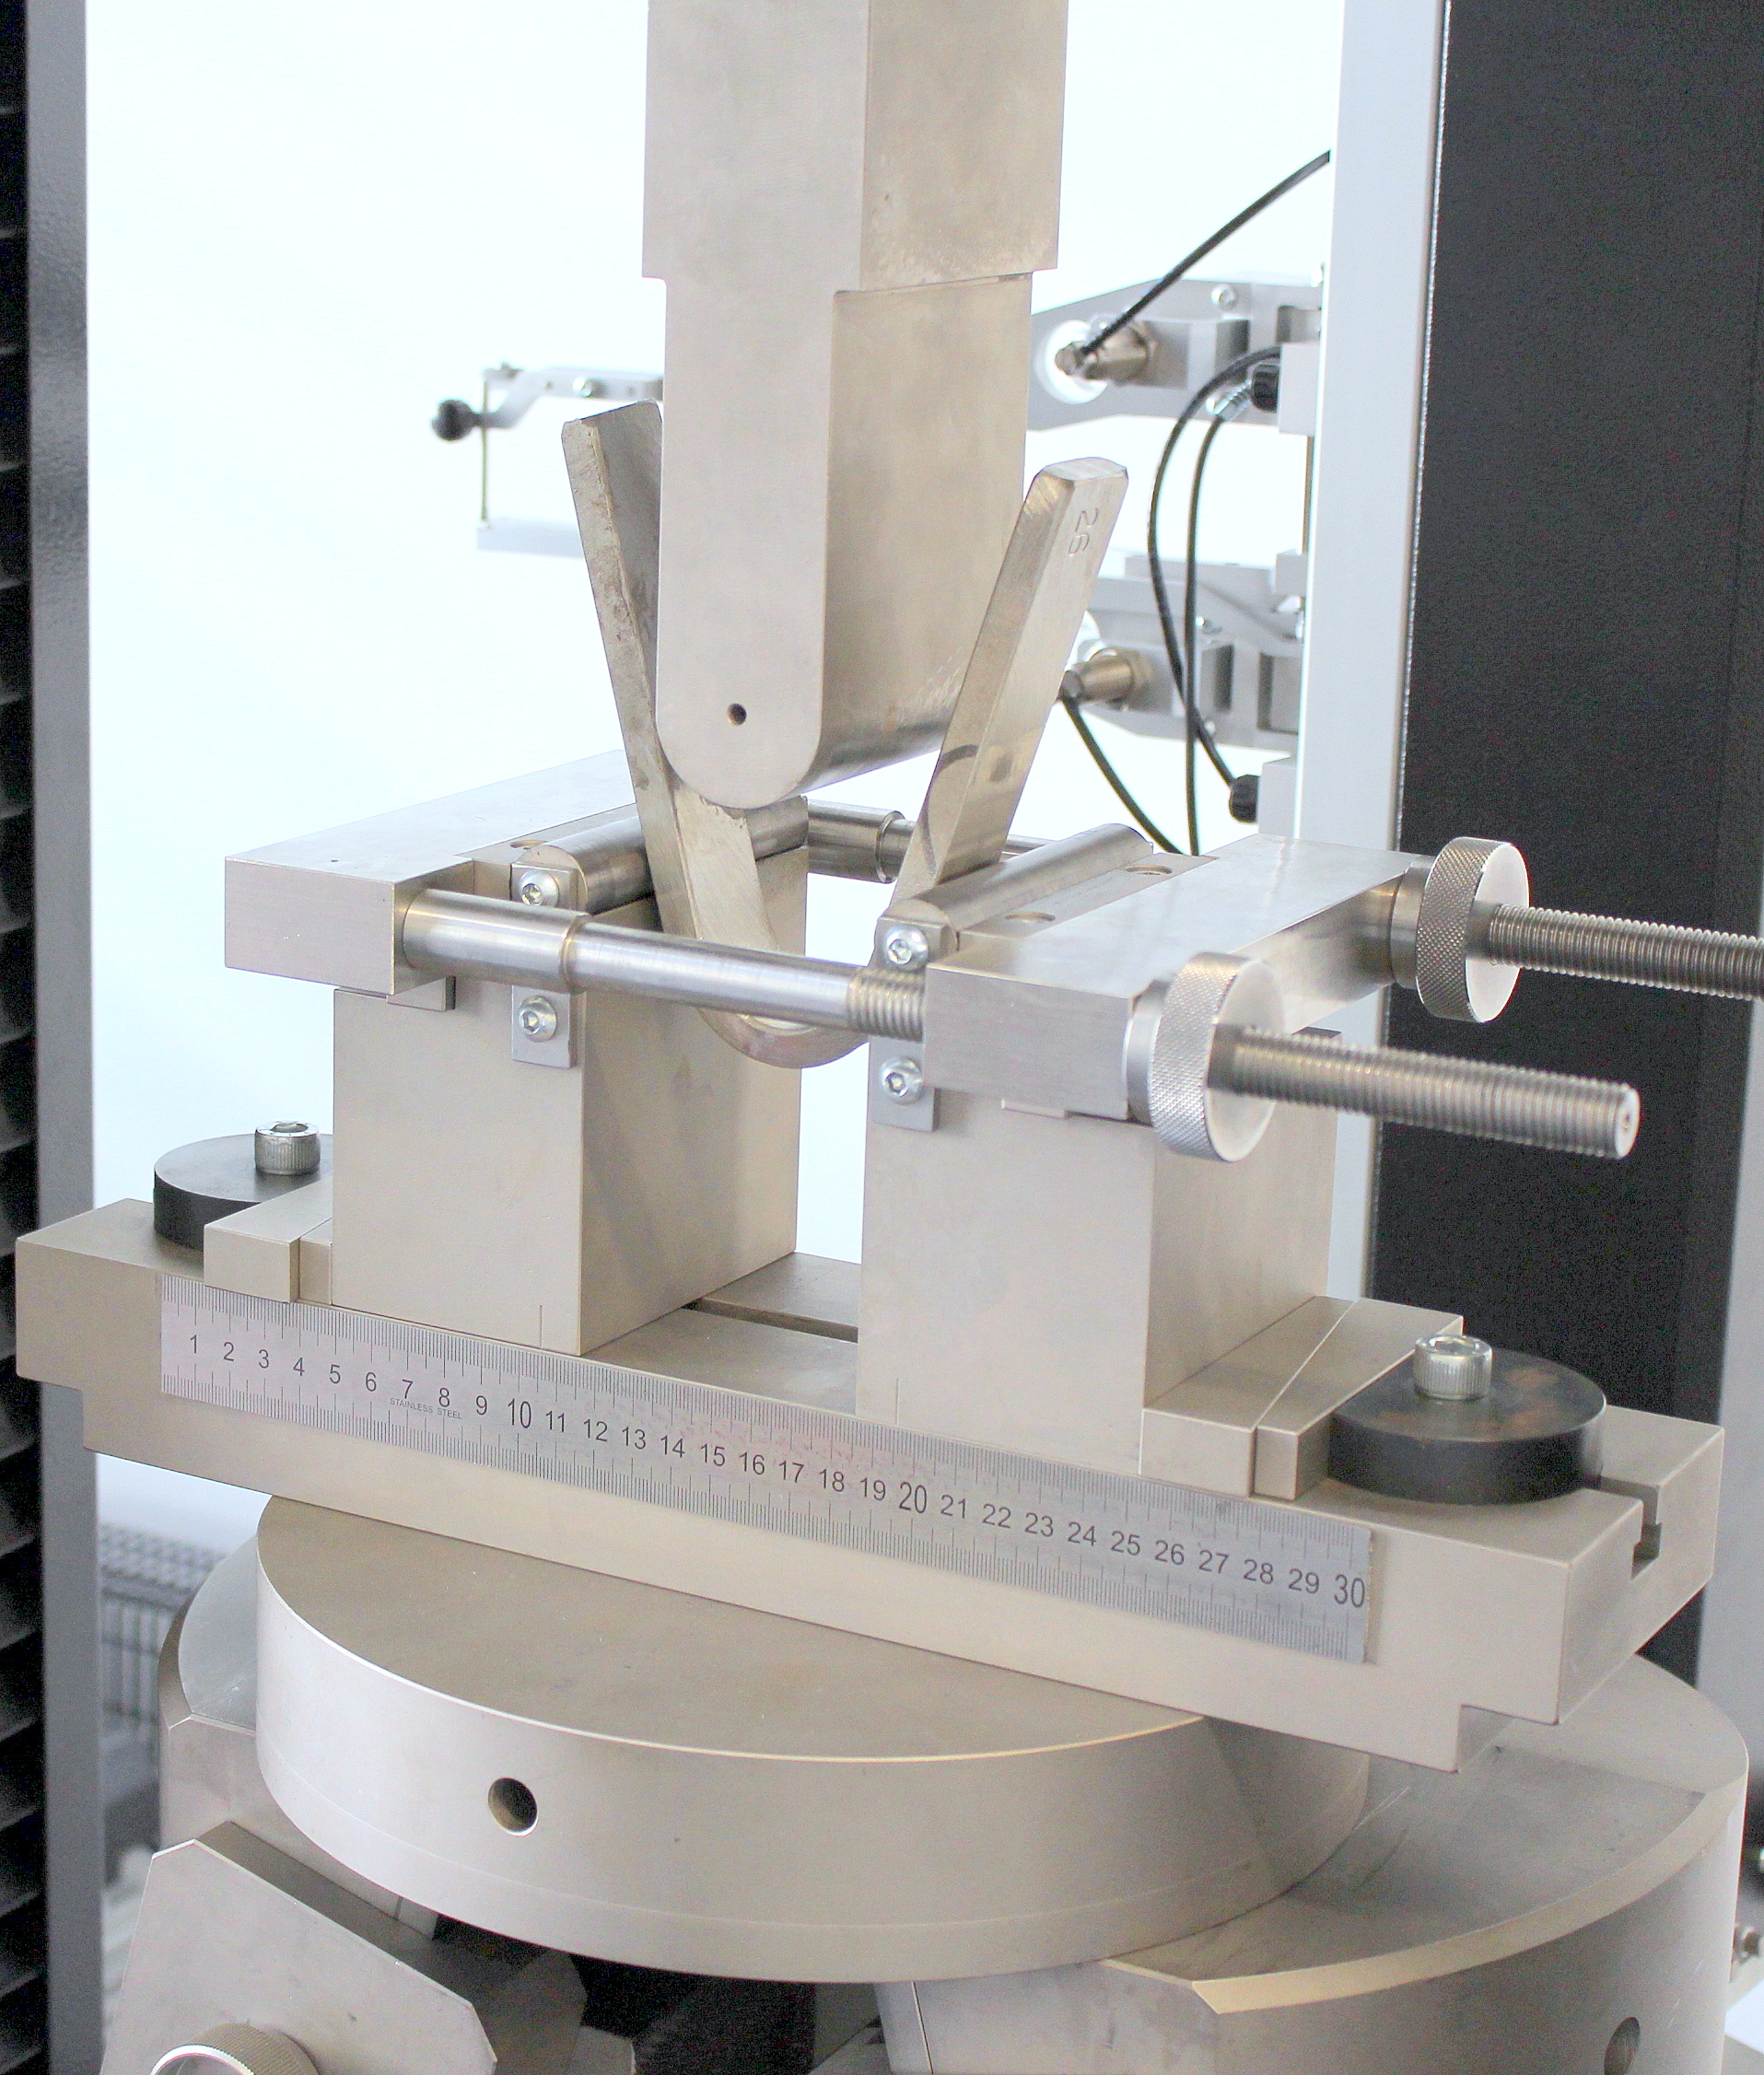
The bending test is a technological test that, by executing the bending of a sample with a standardized curvature radius, enables to identify the elasticity properties of materials in accordance to European and international standards.
This test is conducted with our universal machine, which is equipped with all the necessary accessories to perform the bending tests.
When performed on welded joints, a face, root or lateral bending test can be executed, with variable dimensions.
All testing operations are completely managed by a specific software that, according to the set standard test, ensures the correct execution of all tests.
Our universal machine is accompanied by a calibration certificate issued by a calibration centre validated by ACCREDIA, the Italian National Accreditation Body, and available for consultation in our “Download” area.
.

prova_trazione

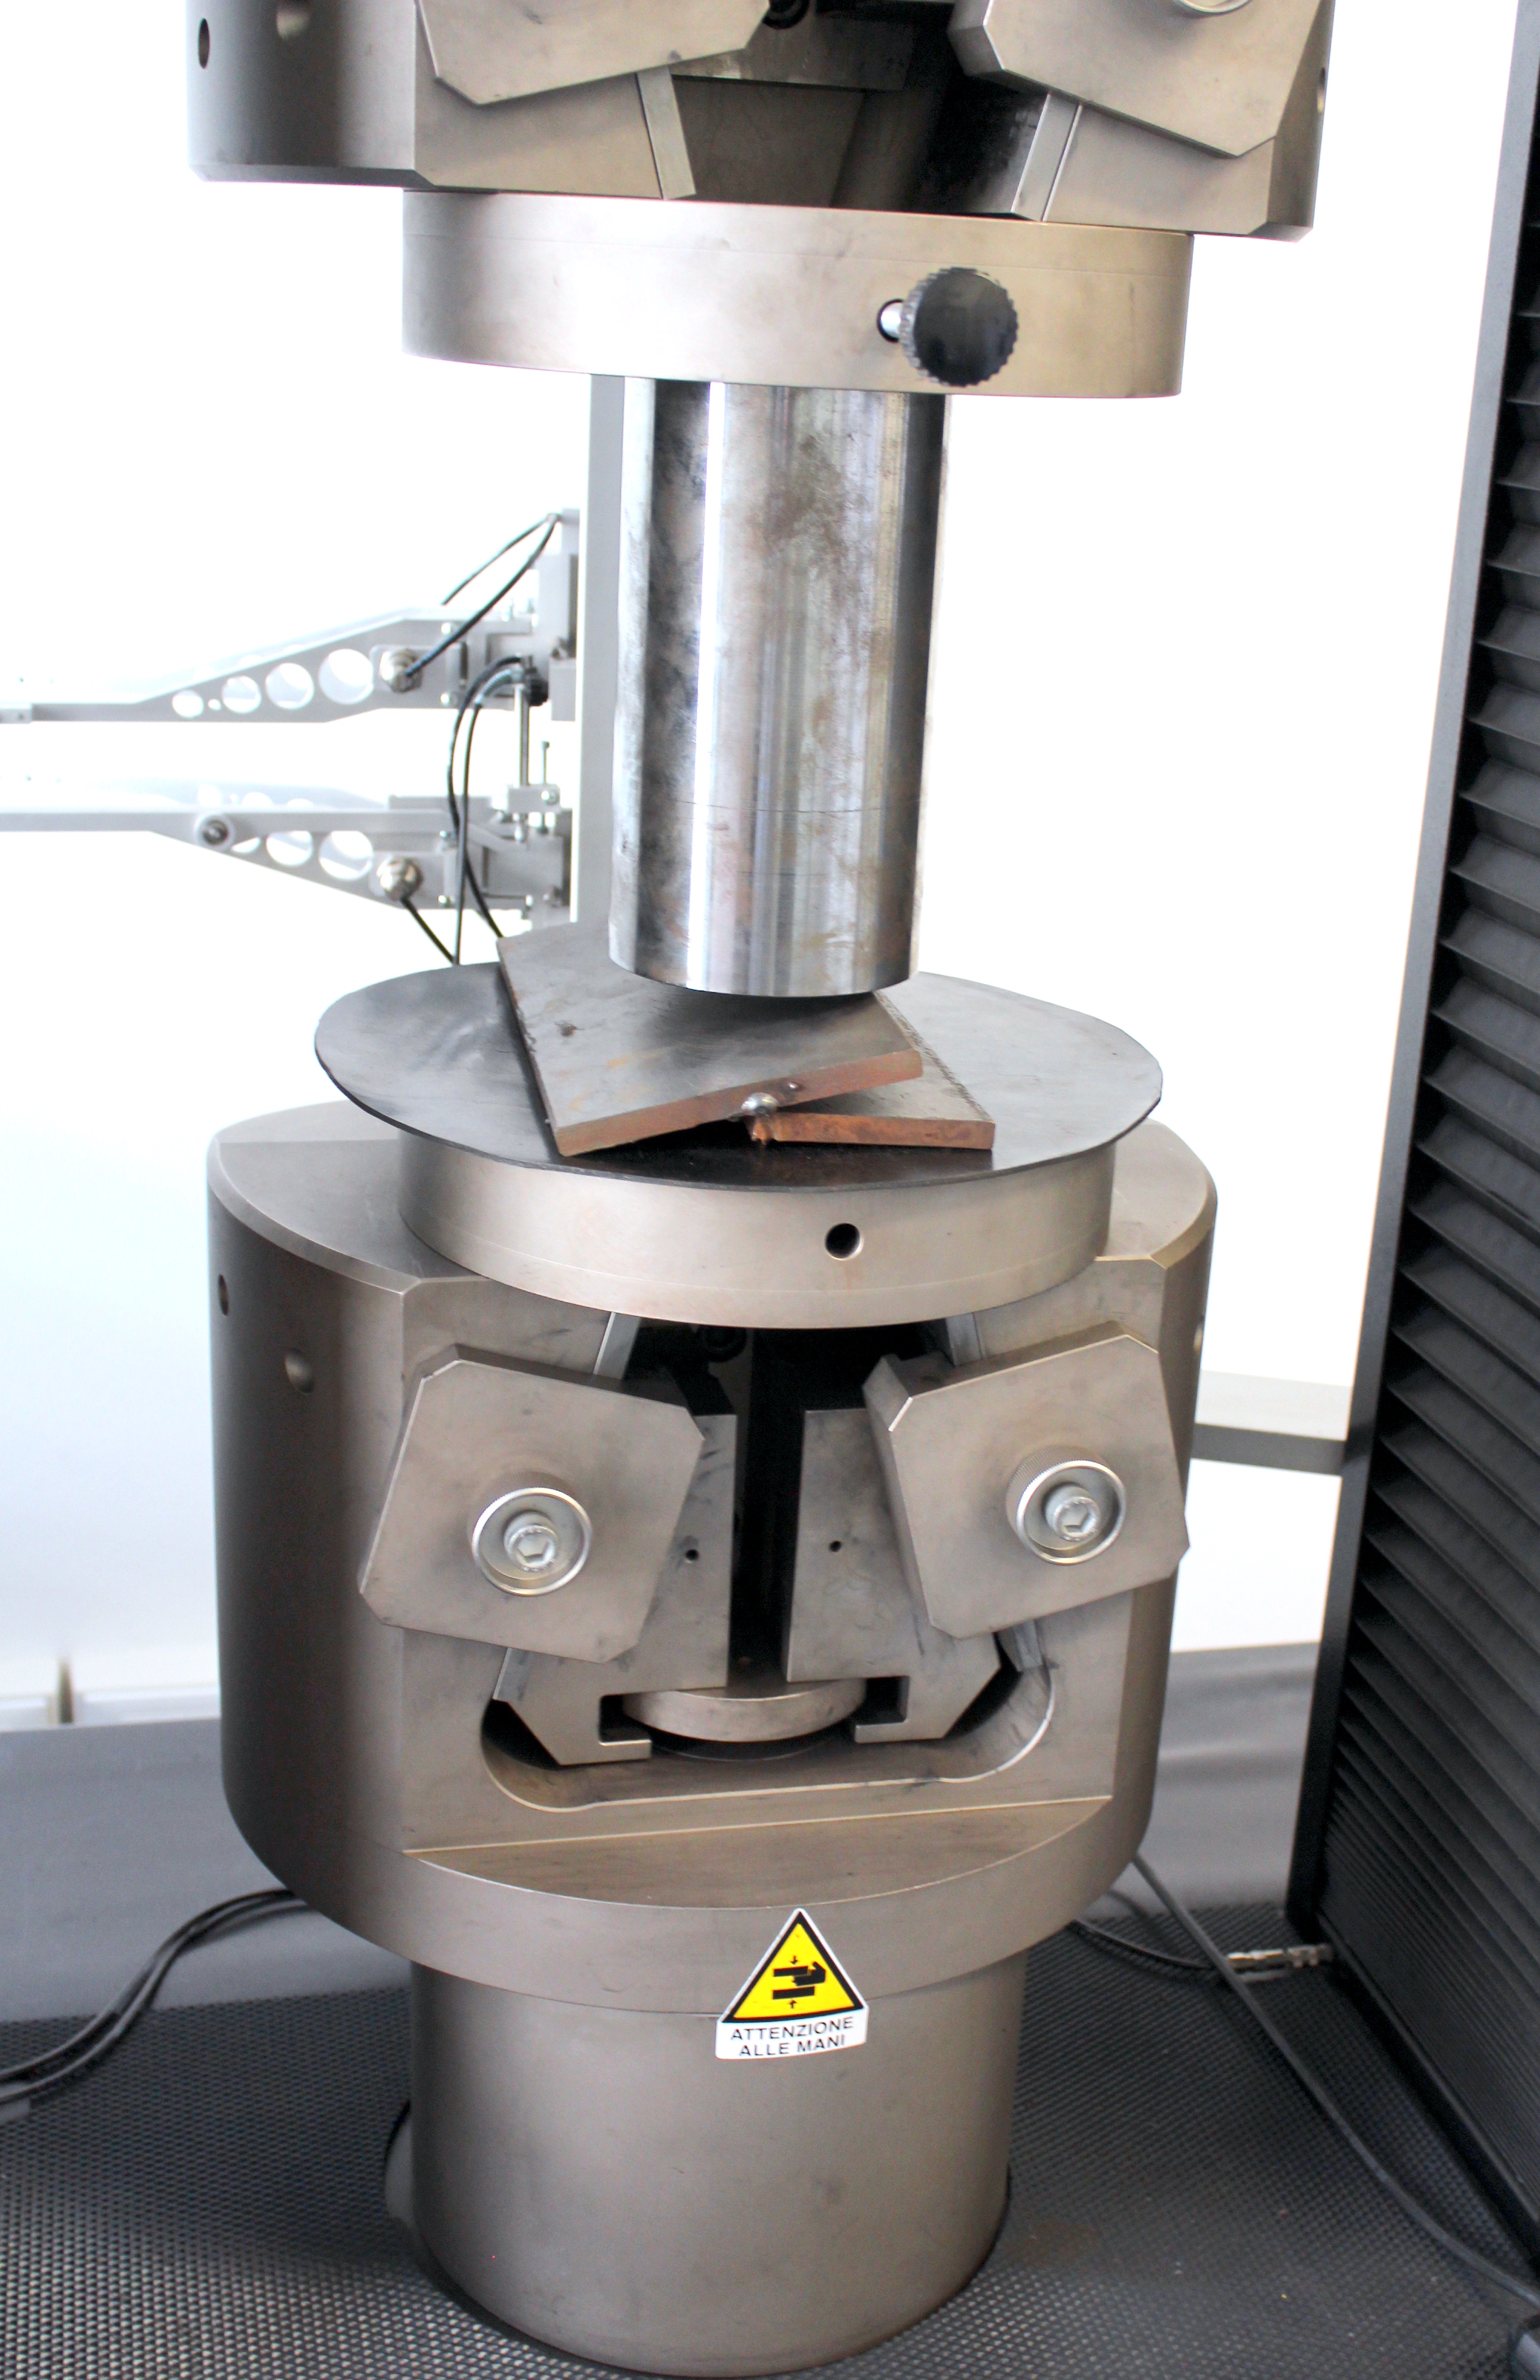
The fracture test is a technological test that, by creating a fracture on a welded sample, allows to detect any possible defective or incomplete fusion occurred during the welding process of the various materials, and to assess it in accordance to European and international standards.
This test is carried out by using our universal machine, which is suitably equipped to enable its implementation.
Therefore, all testing operations can be performed and their proper execution is ensured. Certificate available for consultation in our “Download” area.

prova_trazione

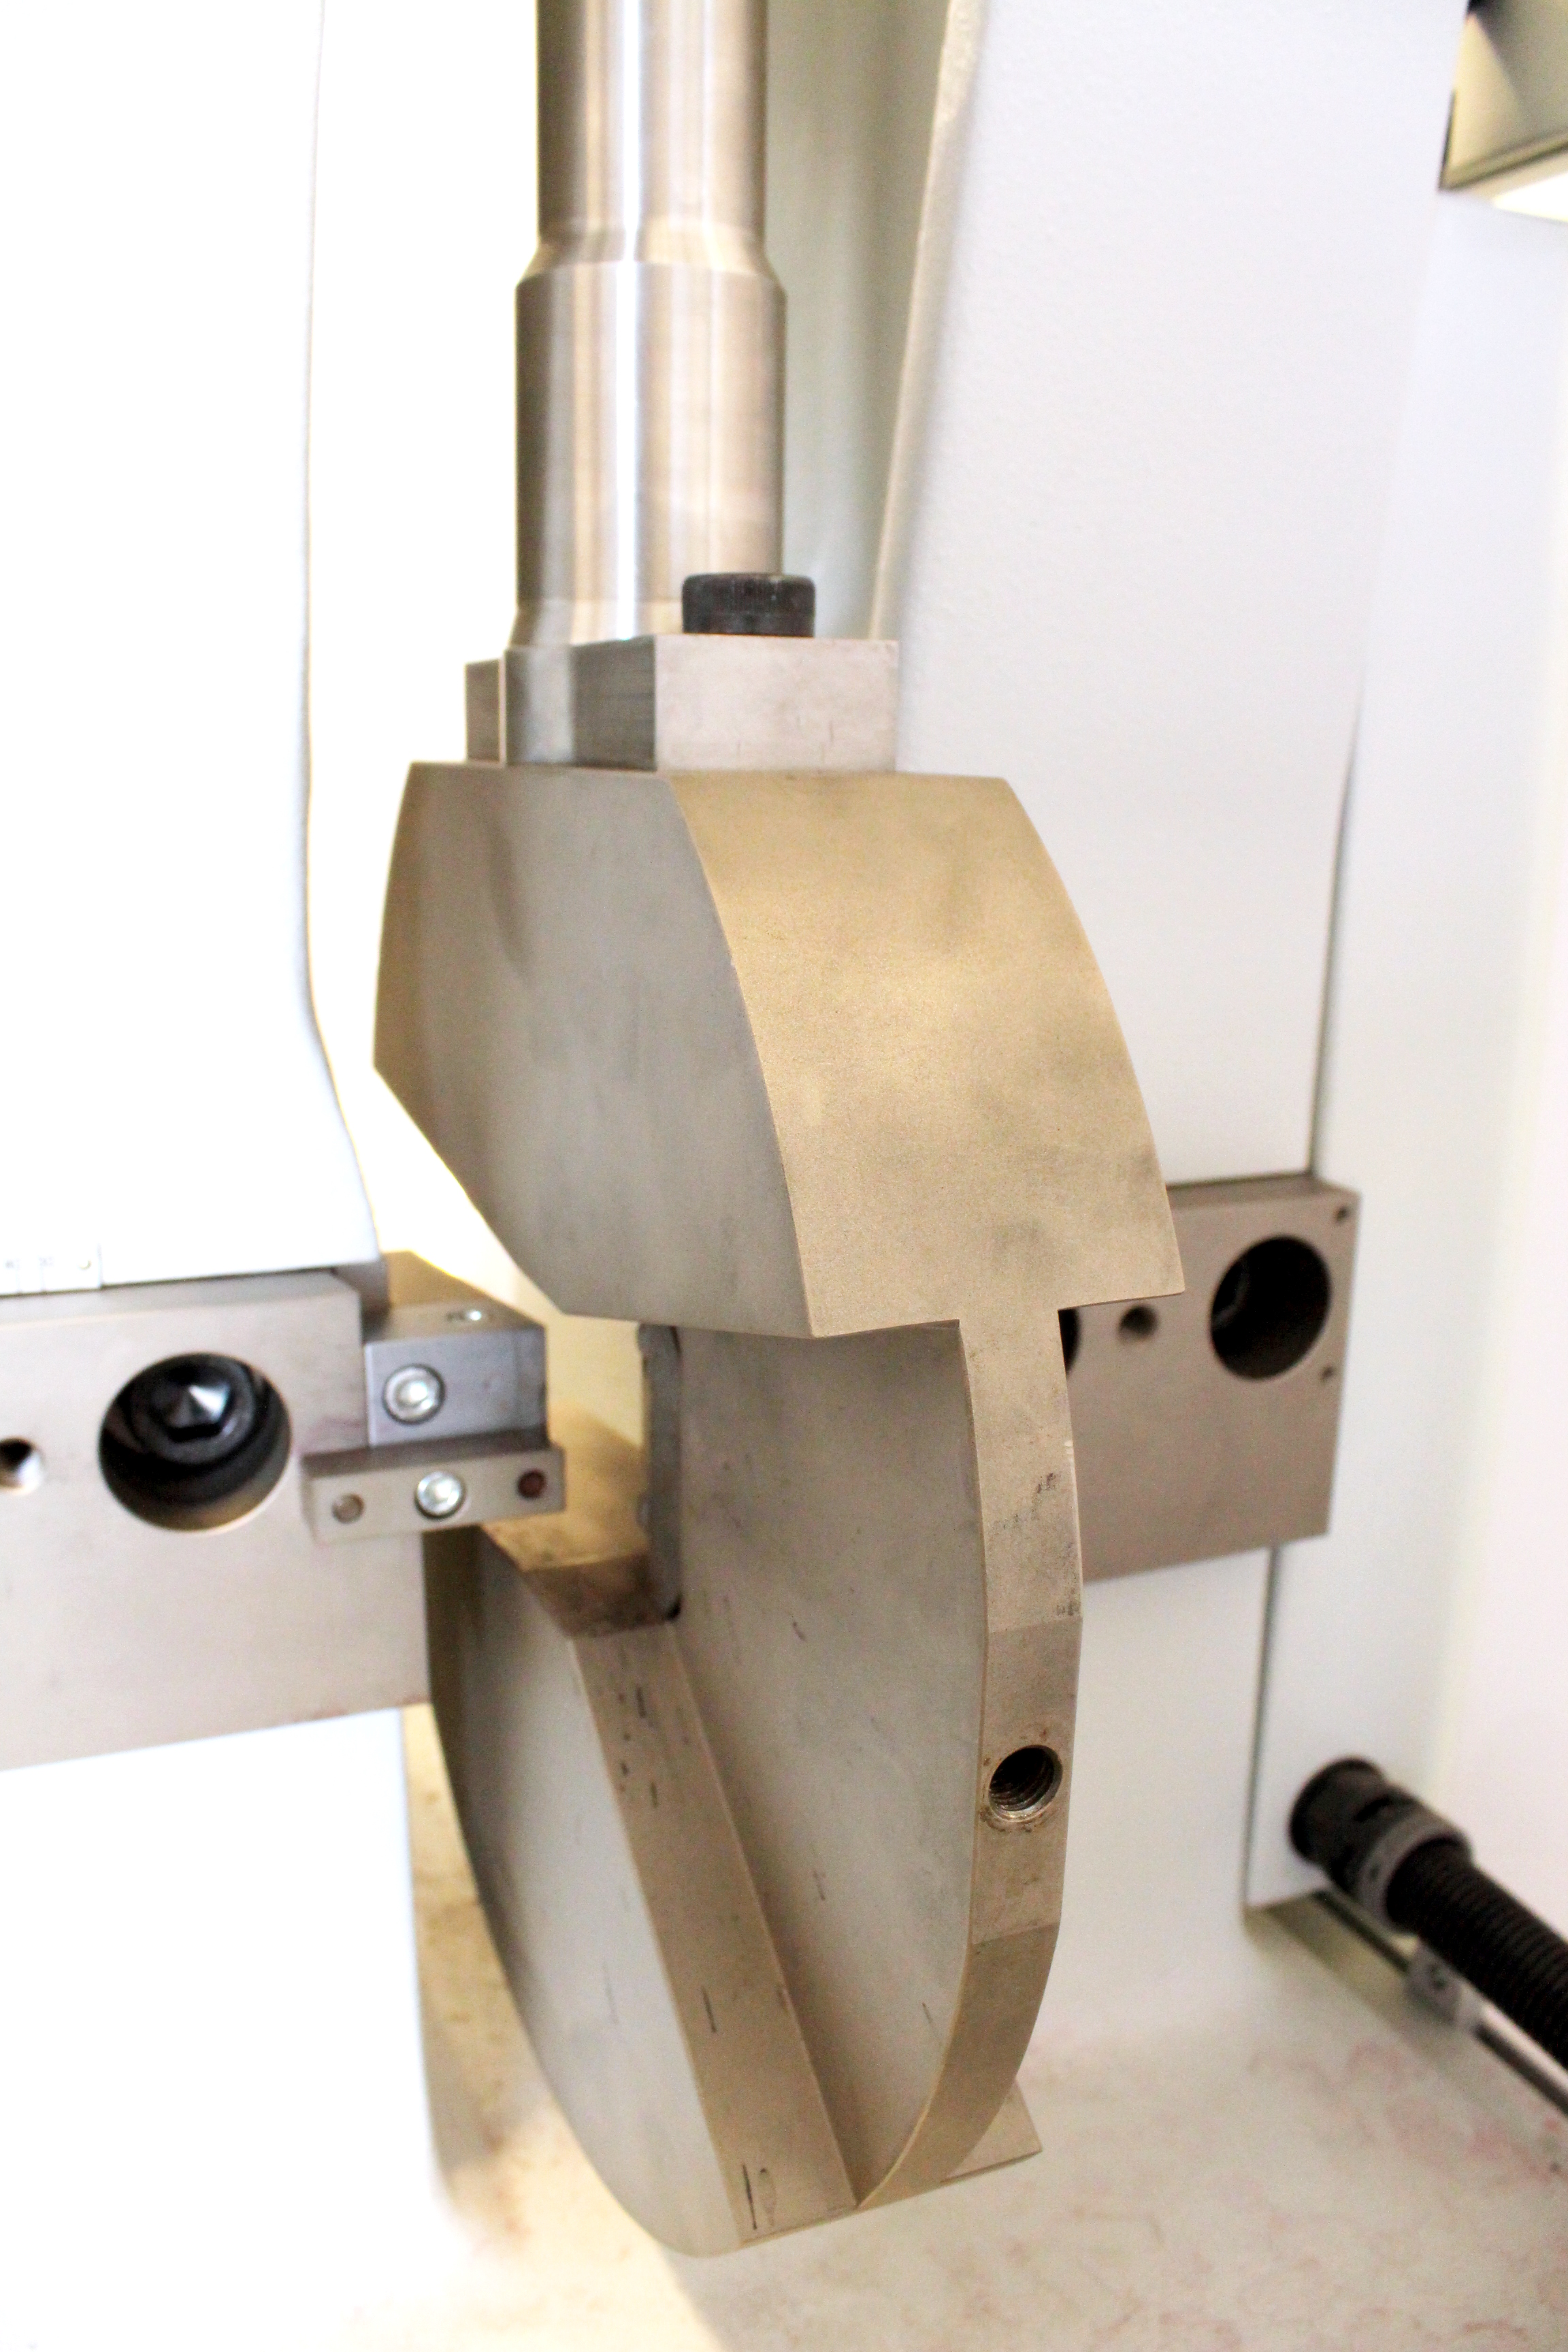
The impact test is performed according to the Charpy method at room temperature and at low temperatures, down to -196 ° C, for standard and reduced size samples. This technological test allows to determine the materials' toughness resilience properties (impact resistance at various temperatures), according to European and international standards.
The machine used for the test, fully mechanized, is connected to the computer system and operated by a software that, upon request, can record and provide the values obtained during the test.
The testing machine has a maximum rated power of 450 joules and is accompanied by a calibration certificate issued by a calibration centre validated by ACCREDIA, the Italian National Accreditation Body, and available for consultation in our “Download” area.
The testing machine also has NIST annual certification, required to make use of it in the projects carried out by manufacturers of pressure tanks within the ASME BPVC Certificate Holders certification framework.

prova_trazione

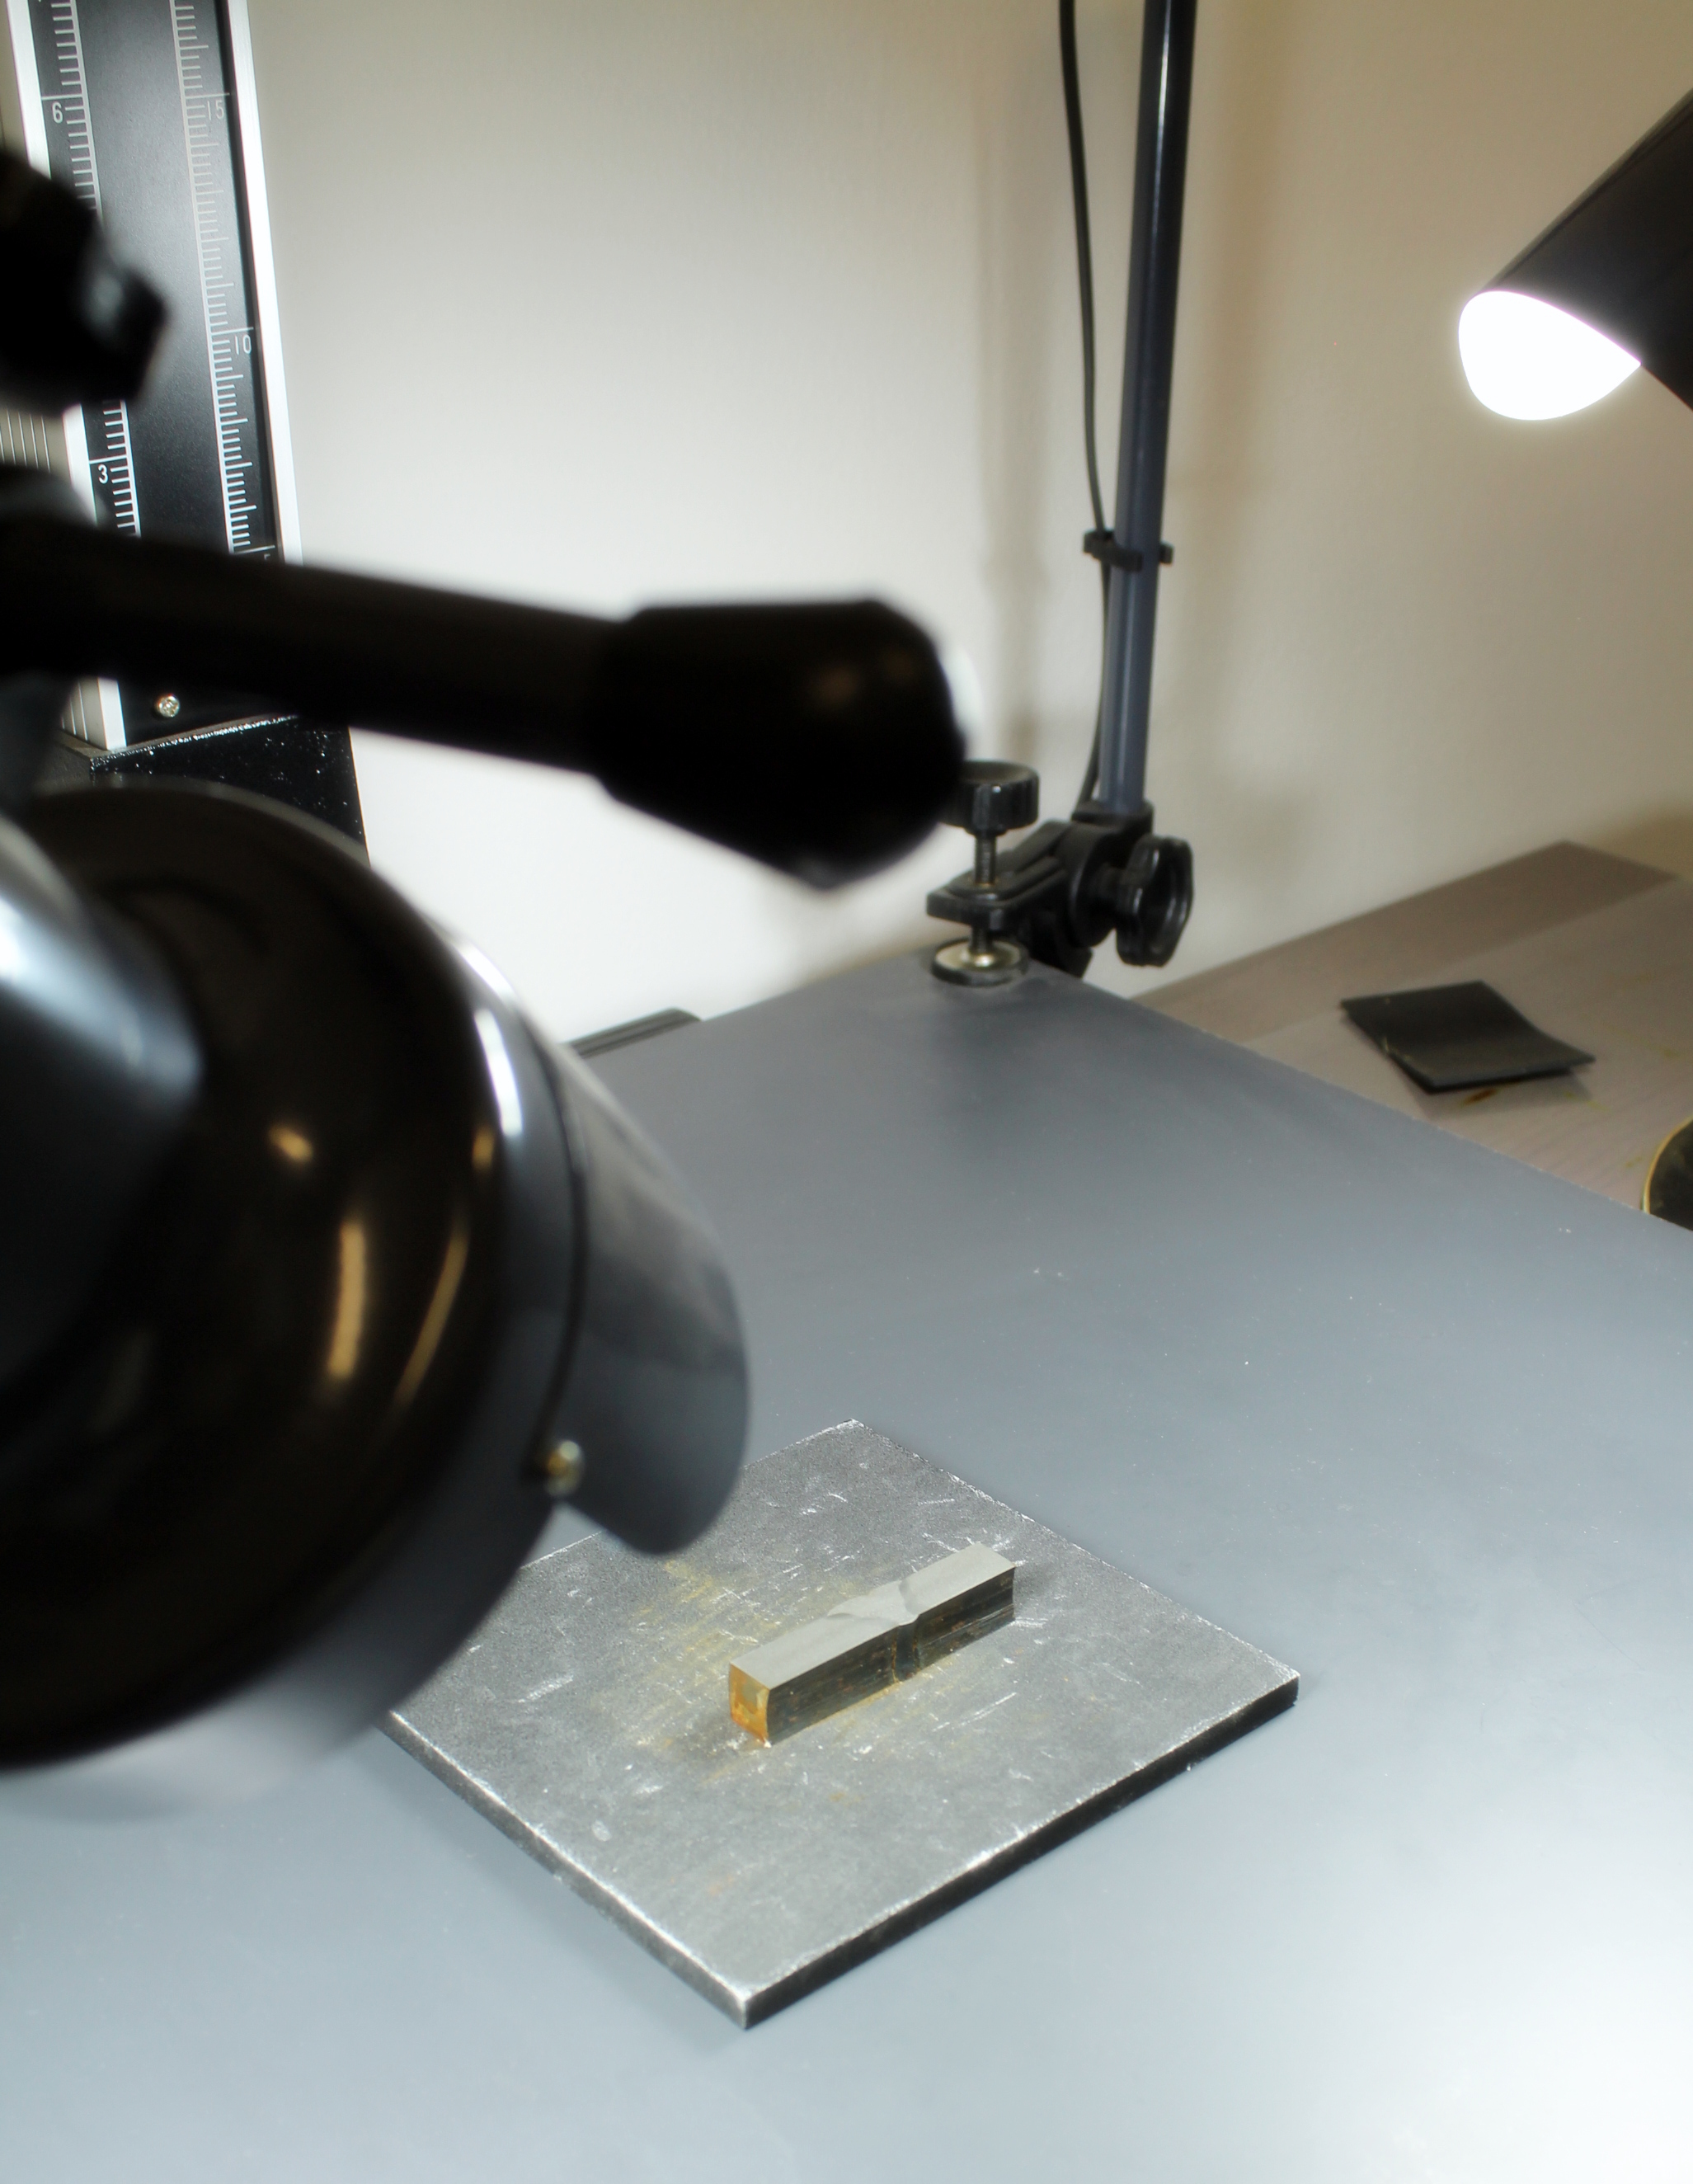
The macrographic examination is performed on the joints made by full or partial penetration weld, as well as corner joint, butt-joints and T-joints; macrographic examinations are performed on multiple types of junctions, with common or special geometry (eg. tubesheet).
This technological test allows to detect any possible defects in the weld's cross section, and to assess them according to European and International standards.
The latest generation digital camera employed can take high resolution photographs of the examined section and, by connecting to the computer system, it can record and provide a file that is then reproduced in print on test certificates. Certificate available for consultation in our “Download” area.

prova_trazione

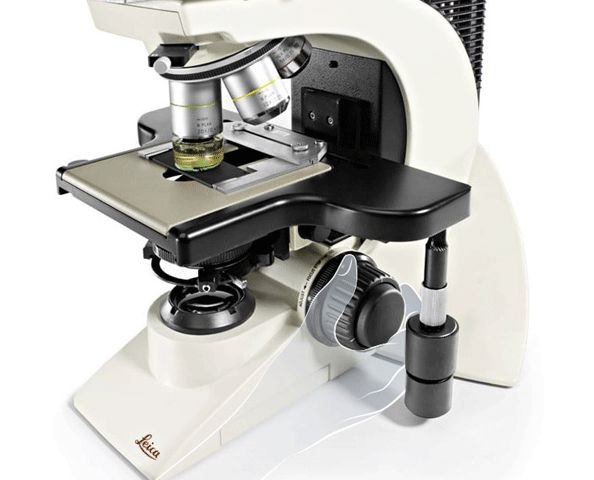
The micrographic examinations on metallic materials are a type of characterization of the materials performed with a microscopic examination that reproduces the structure of metals to identify the different intermetallic phases, their shape and distribution and to detect the size of the grain.
The laboratory is equipped with the Leica DM 2700 M microscope and the ECOPRESS 50 automatic embedding press which realizes inclusions of metallographic samples and is managed by a microprocessor. This test is in the process of accreditation within the year 2018. Certificate available for consultation in our “Download” area.

prova_trazione

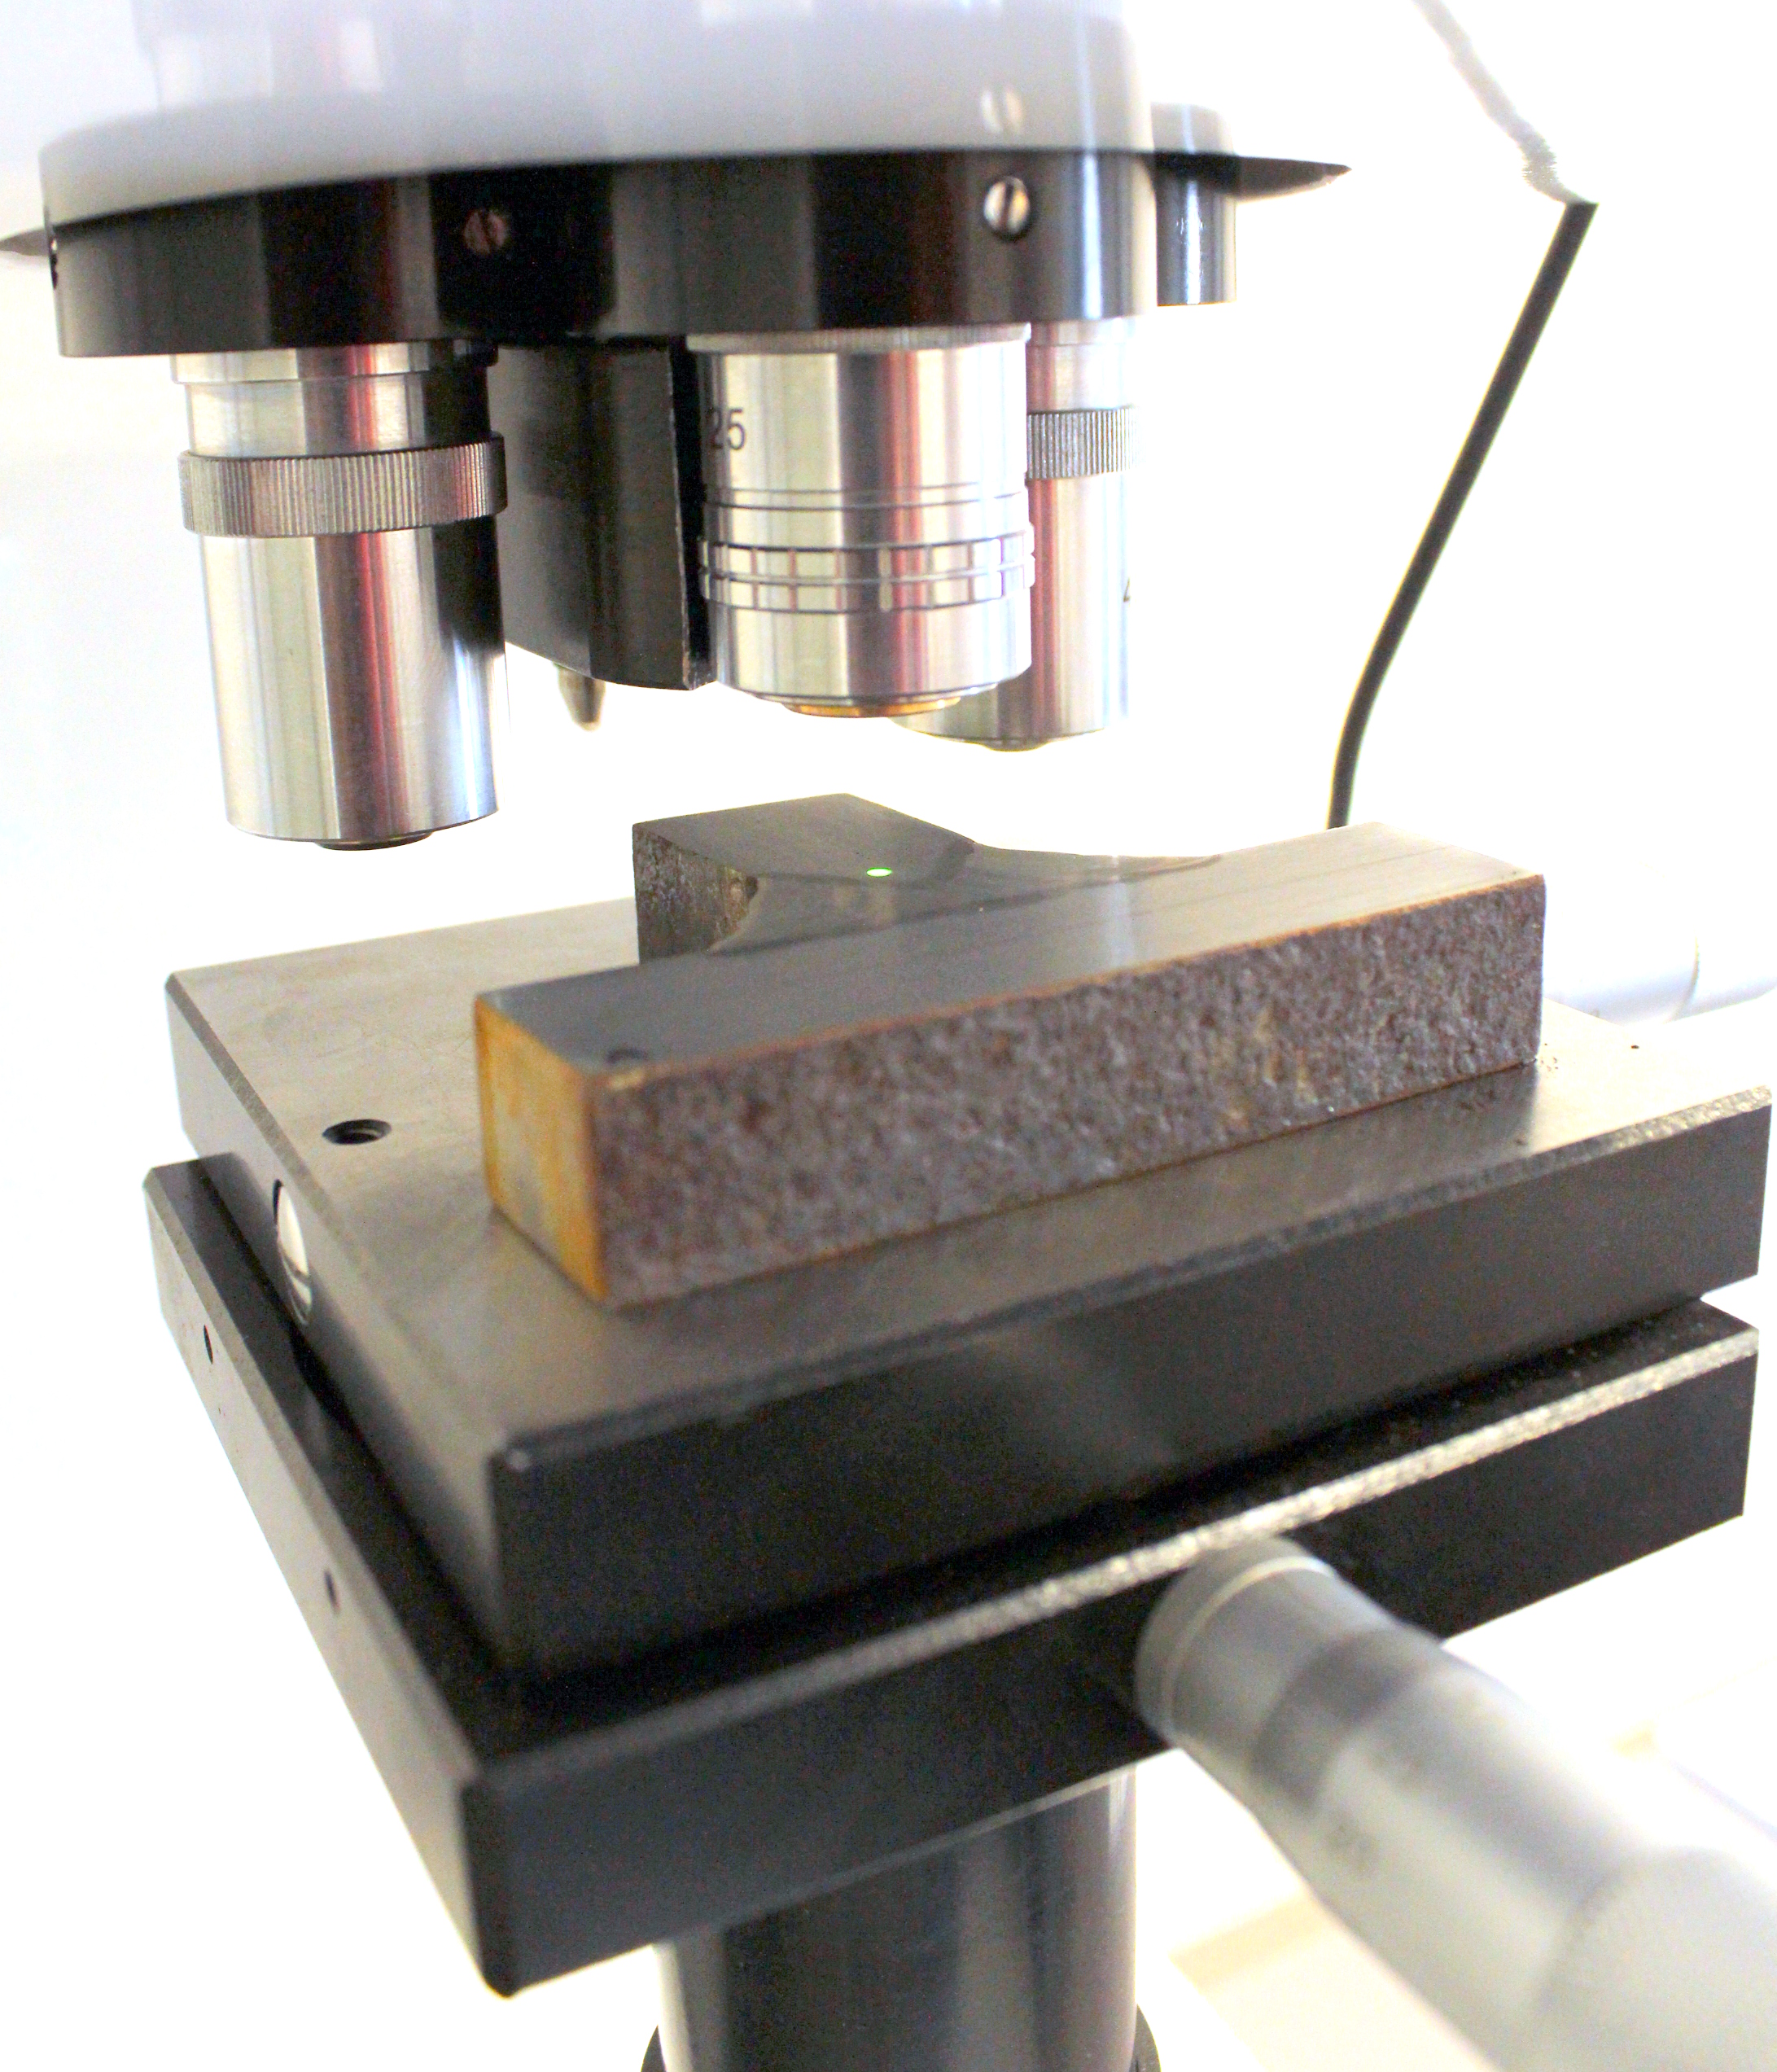
The hardness test is performed using a durometer equipped to perform HV, HB, HRC and HRB hardness and microhardness tests.
It consists of a technological test that, by exploiting the penetration of a tool called penetrator, subjected to a known load, allows to determine the surface hardness property of materials and welded joints, according to European and international standards.
The load range that the equipment is capable of applying goes from 0.1 to 30 kg, thus also allowing to perform microhardness examinations.
When the test is carried out on welded joints, it is specifically performed on the different areas to assess, and namely: the base material, the heat-affected zone and the weld, according to a number of controls depending on the applicable regulation or standard.
Upon request, all testing procedures can be operated by a software that, by connecting to the computer system and using the camera installed on the device, can display on the monitor the obtained imprint and, according to the set test standards, determine and record the required hardness value, and finally provide the test's results in print.
Our instrument is equipped with specific blocks for periodic calibration check, certified by the international body UKAS.
Our equipment is also accompanied by a calibration certificate, issued by a calibration centre validated by ACCREDIA, the Italian National Accreditation Body, available for consultation in our “Download” area.

prova_trazione

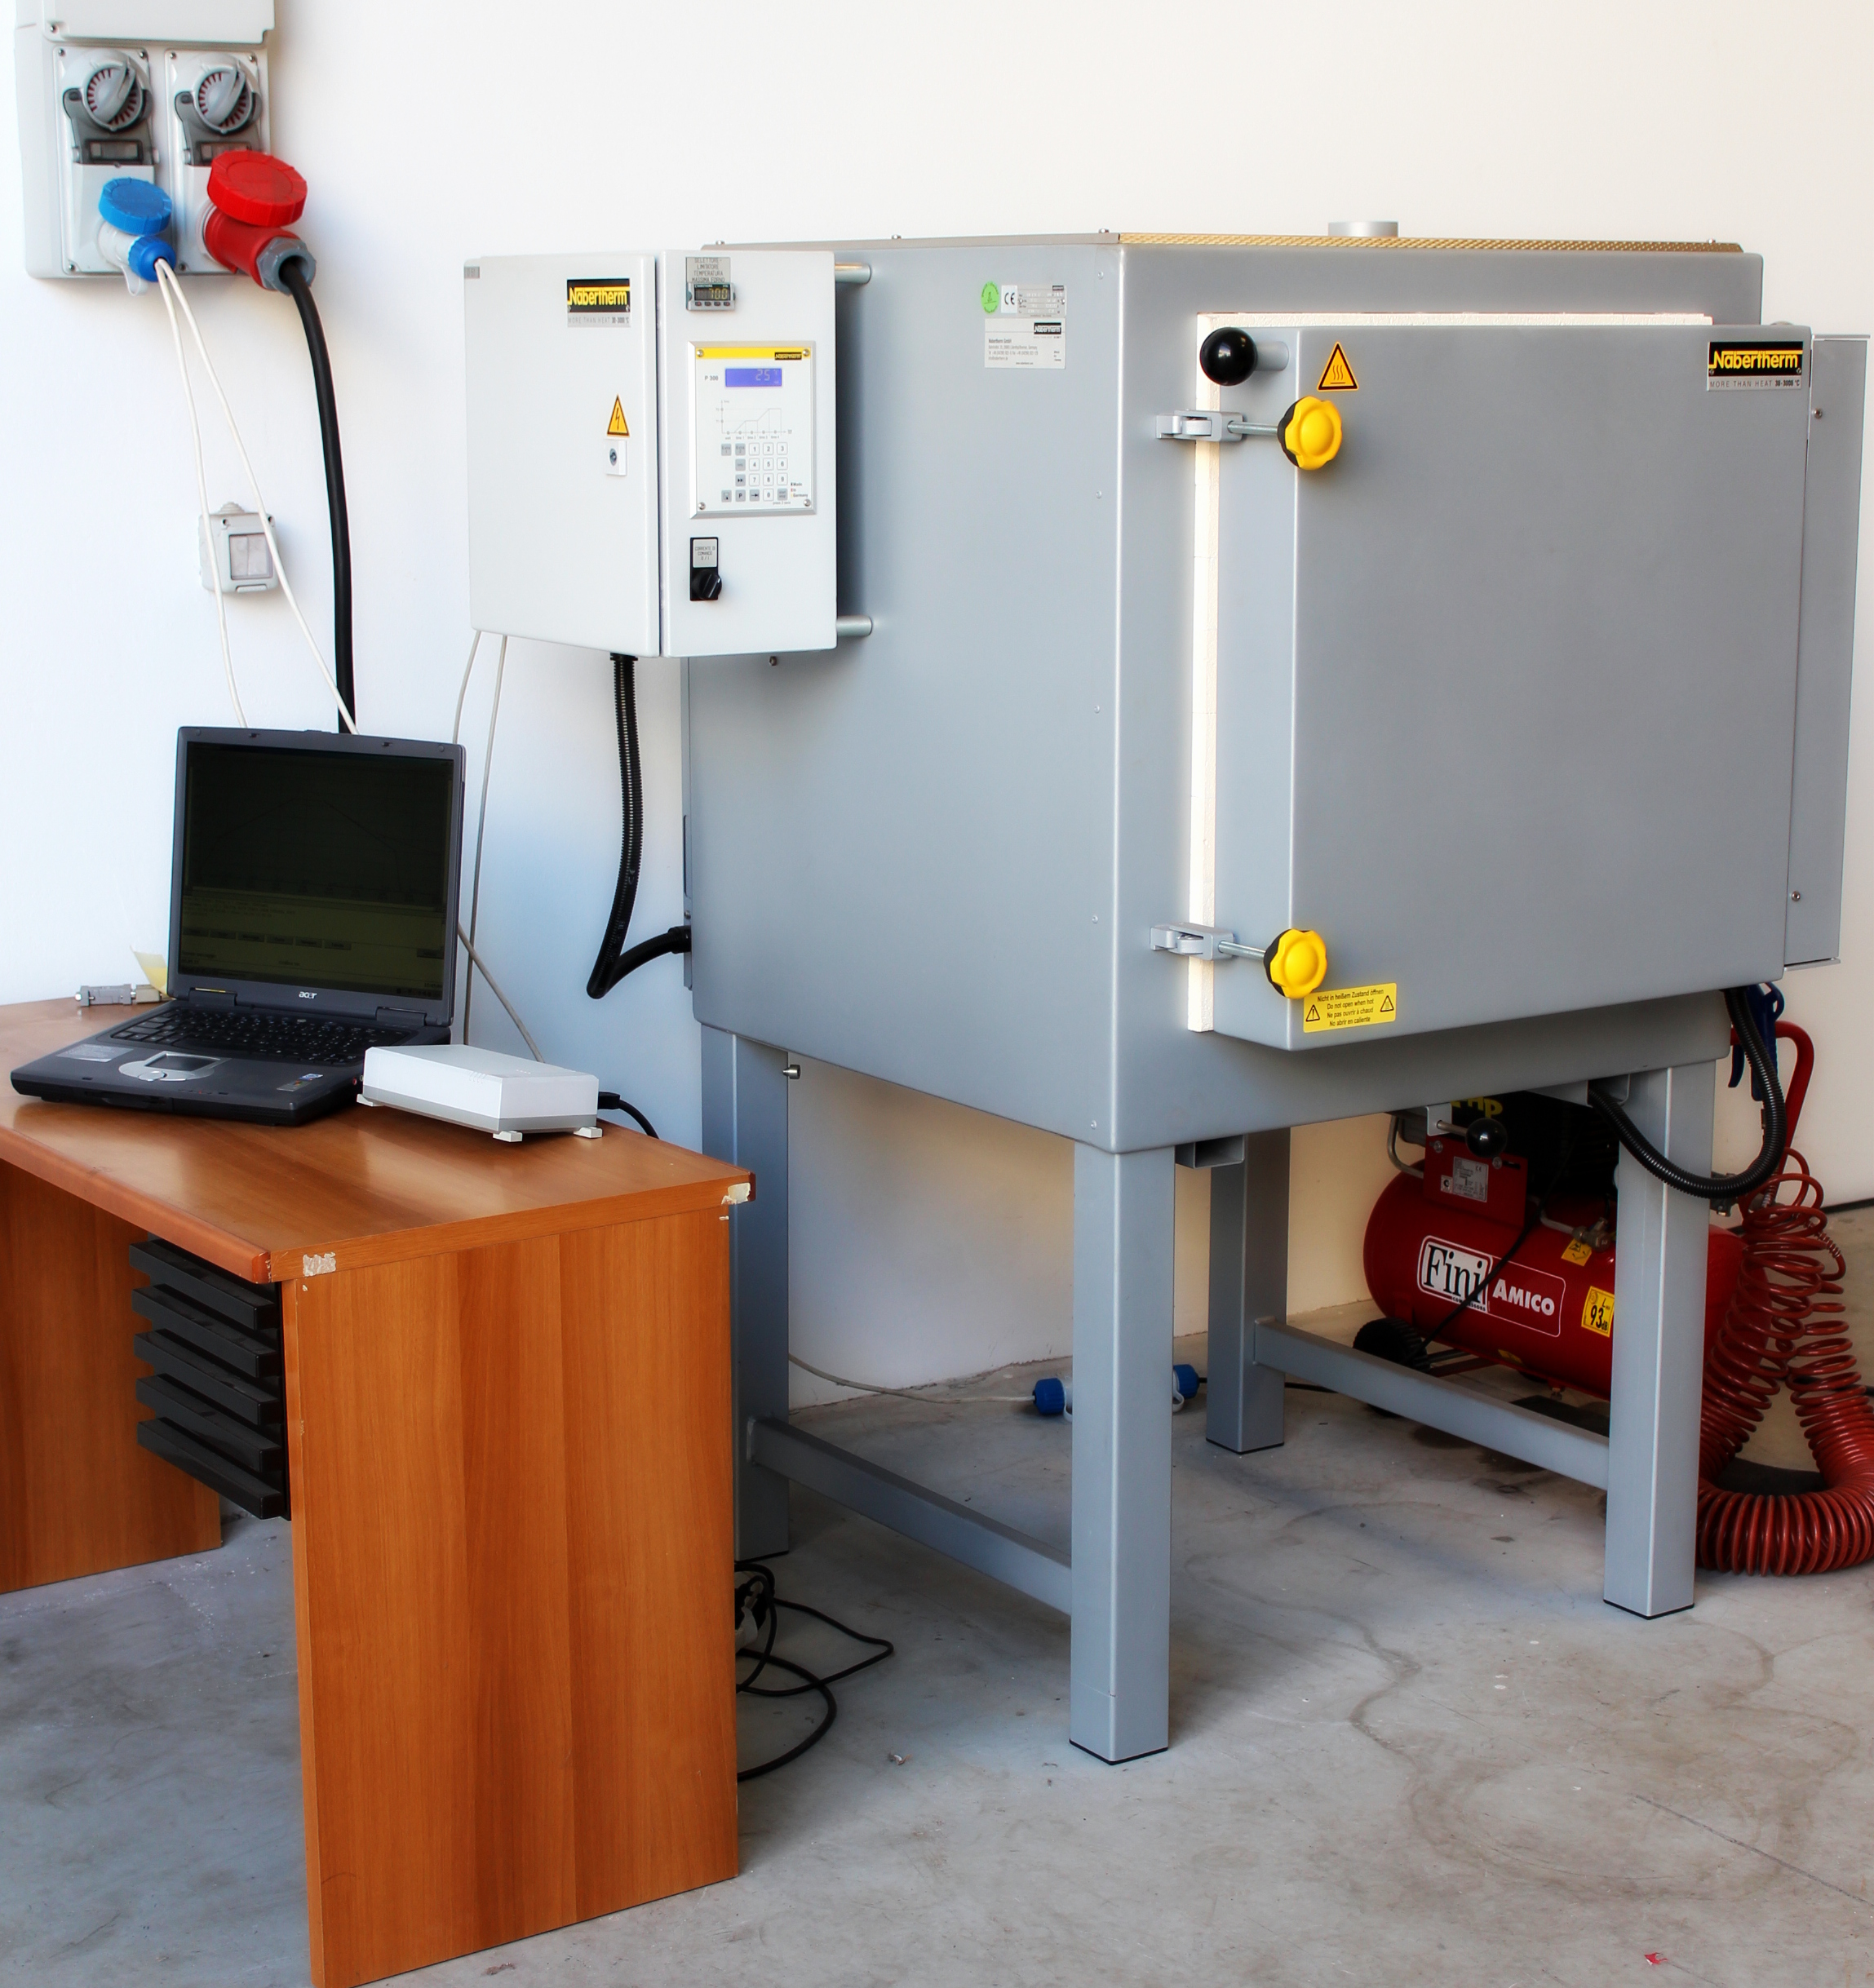
Our electric muffle furnace enables us to perform thermal treatments, by simulating the same characteristics and conditions as those that are to be performed during the production cycle.
When required at the end of a production cycle, the heat treatment must then be carried out even prior to conducting tests on materials and welds, in order to verify the actual mechanical properties at the end of production.
Our electric muffle furnace is connected to the computer system and completely controlled by a specific software, which allows to set the heat treatment temperature, the holding time and the ascent and descent gradient.
We can perform aging, stress relieving, step-cooling and normalizing treatments, up to a temperature of 1,100° C. Certificates available for consultation in our “Download” area.

prova_trazione

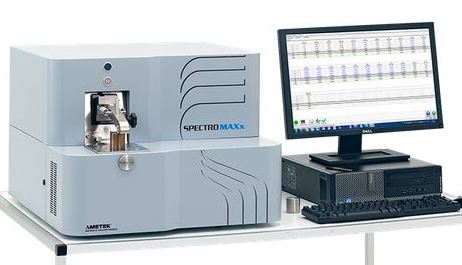
Chemical analyses are performed with quantometer SPECTRO MAXx LMM07 on all carbon steels and stainless steels, on nickel and its alloys, on copper and its alloys, on aluminium and its alloys etc.
This test is conducted to determine the chemical components that can be found in the analysed material, and compare the values obtained with the material's specification and the applicable European and international standards.
The machine employed is equipped with specific blocks for periodic calibration check, specifically certified by recognized international bodies.
All the due analysis procedures are handled through a specific software that, according to the material to be tested, ensures a correct implementation of all operations and an effective identification of all components, also providing the values detected and recorded.
The machine used to perform all chemical analyses is accompanied by an appropriate calibration certification, available for consultation in our “Download” area.

/table>
prova_trazione

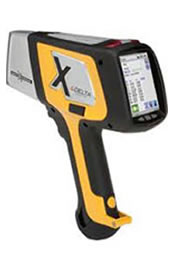
The P.M.I. (Positive Material Identification) is currently performed by an external laboratory working in partnership with our Company, and can be performed on all carbon steels and stainless steels, on nickel and its alloys, on copper and its alloys, on aluminium and its alloys etc.
This test is performed to characterize an analysed material, by comparing the detected values with the material's specifications and the applicable European and International standards, in order to assess and define the type of alloy under examination.
The machine employed is equipped with specific blocks for periodic calibration check, specifically certified by recognized international bodies.
All the due analysis procedures are handled through a specific software that, according to the material to be tested, ensures a correct implementation of all operations and an effective identification of all components, also providing the values detected and recorded.
This portable type tool is also accompanied by a calibration certificate, available for consultation in our “Download” area.

prova_trazione

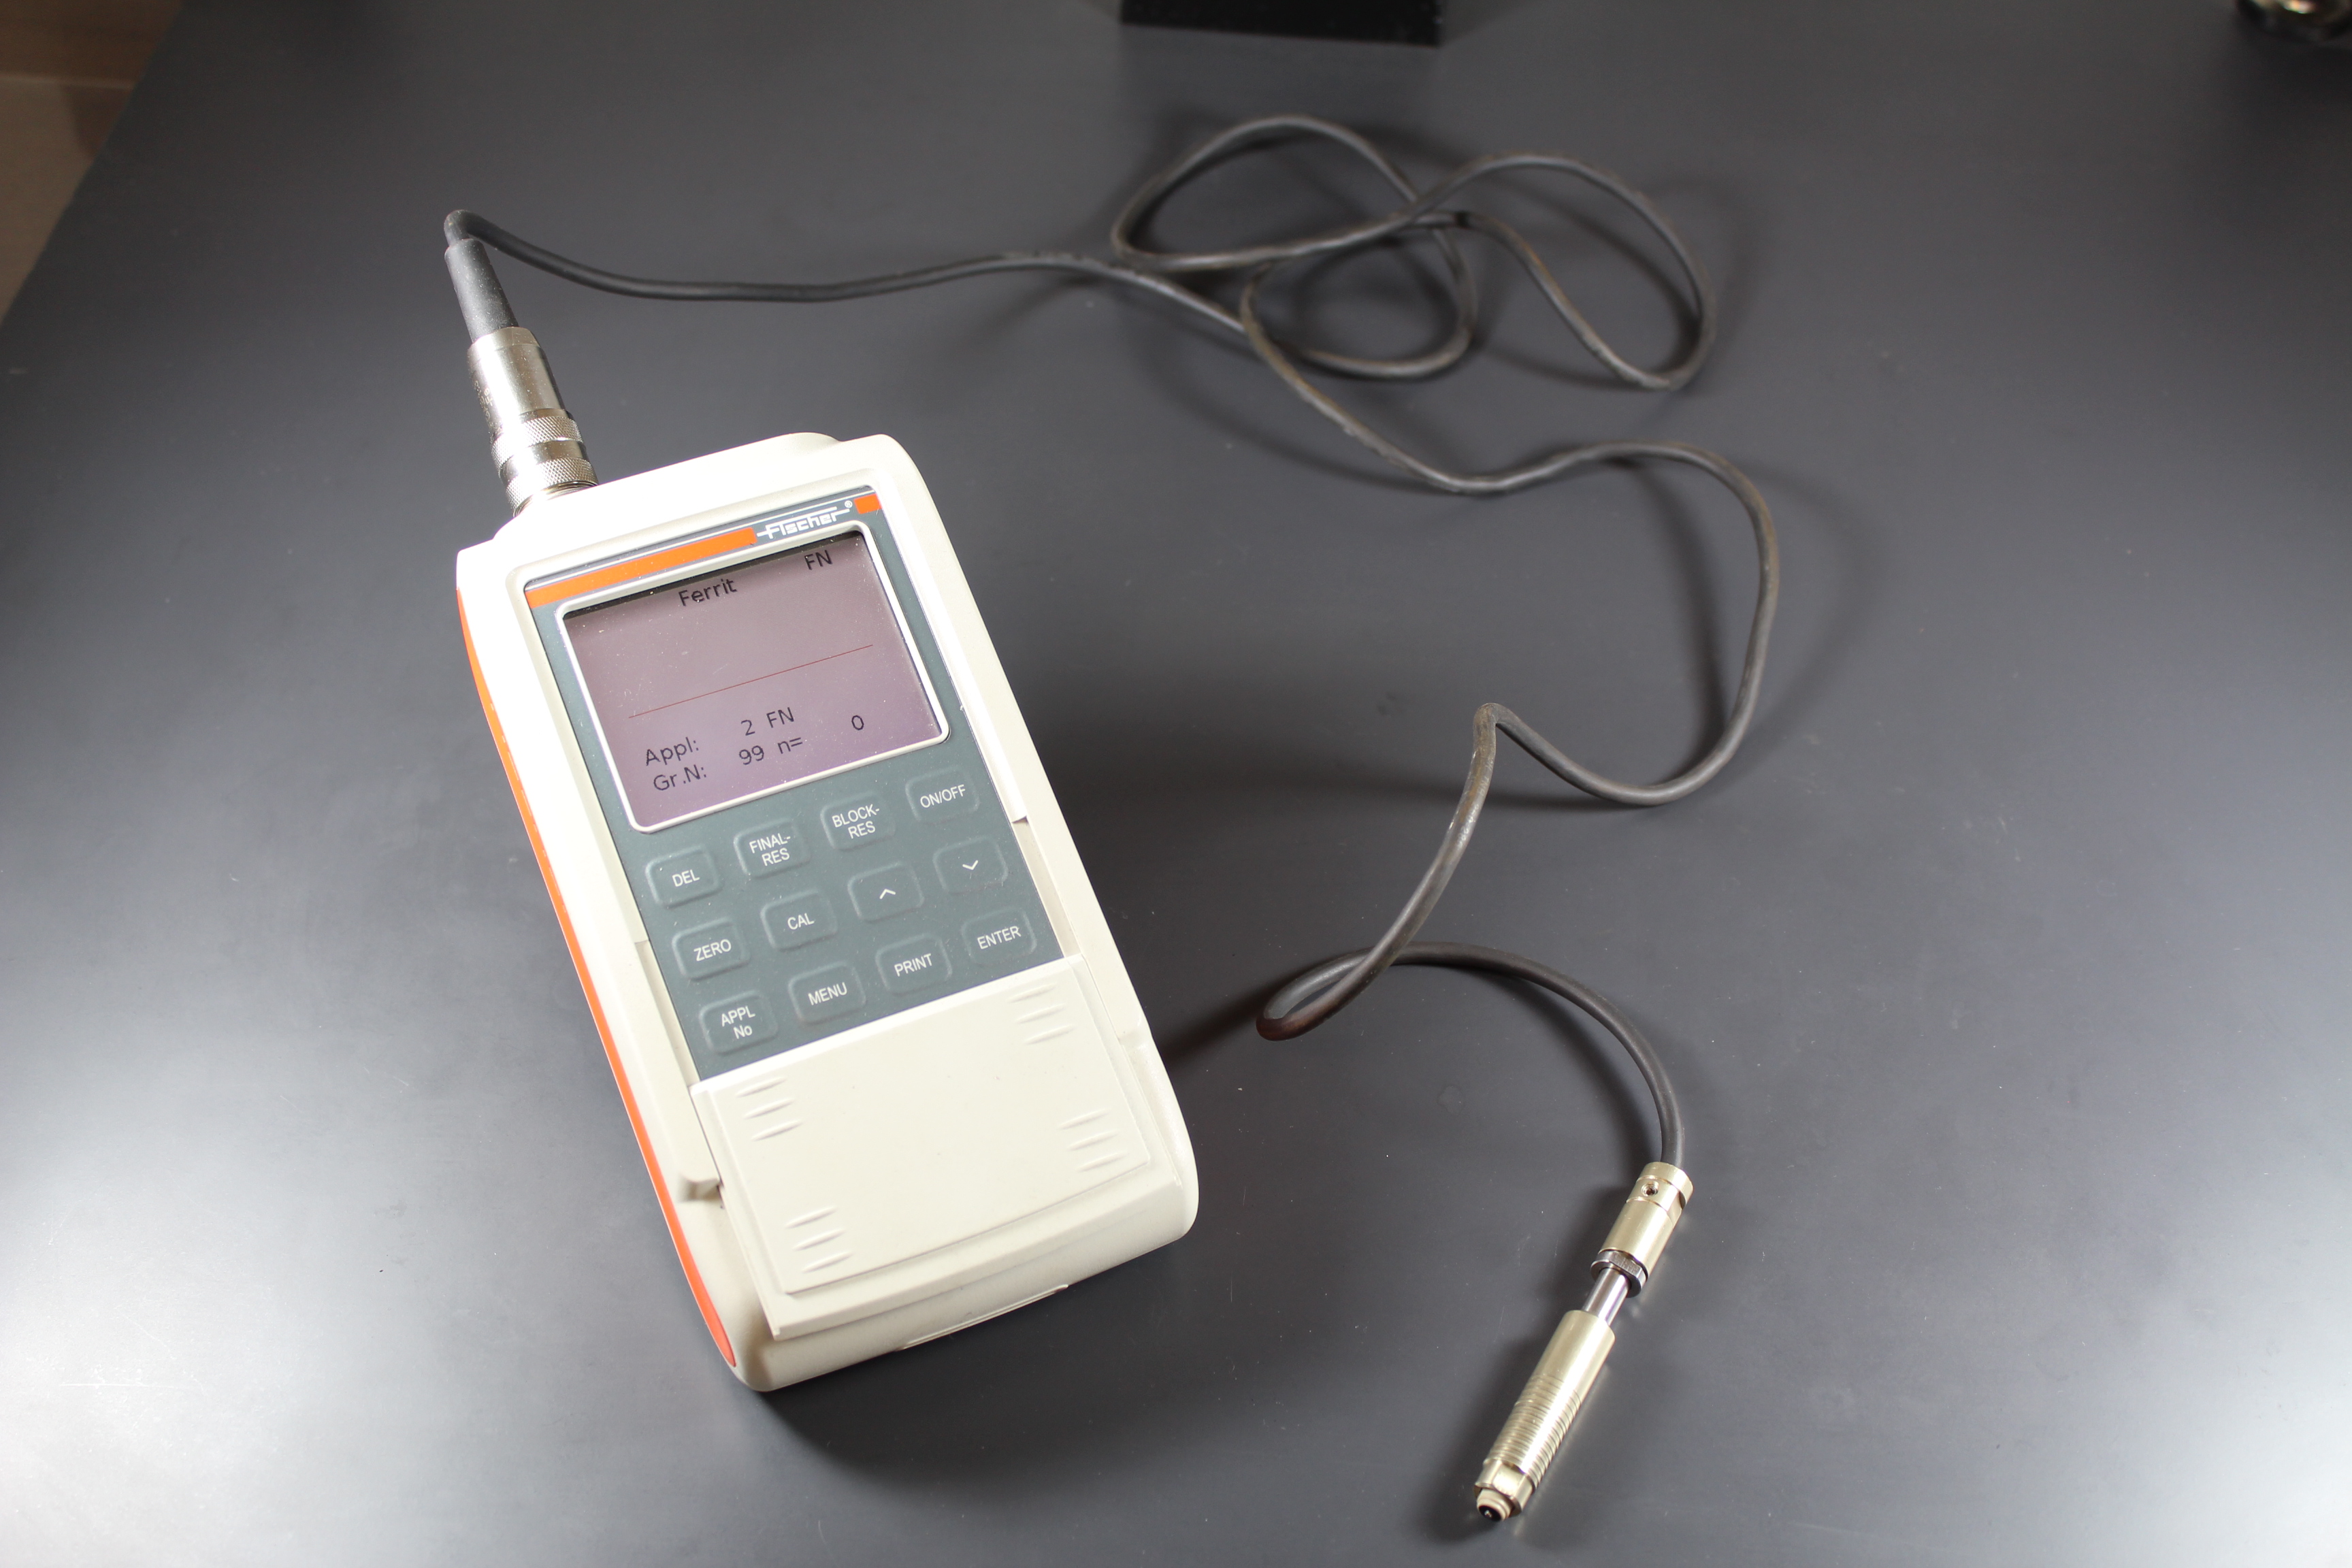
The measurement of ferrite content can be performed on all austenitic, duplex and super duplex in general, stainless steels materials.
This test is performed to determine the ferrite content present in the base material, in the welded joints and in the heat-affected zone.
Our tool is accompanied by a calibration certification, for both low and high ferrite content, available for consultation in our “Download” area.

English
Apri la chat
Hai bisogno di informazioni?
INSPECTA Help Desk
Ciao! 👋
Come posso aiutarti?